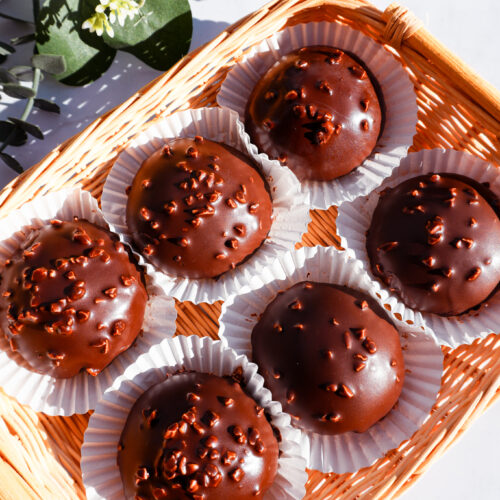
Chocolate Covered Mochi — Cream and Oreo Crumble Filling
These chocolate covered mochi are filled with whipped cream and Oreo center, all wrapped in soft, chewy mochi and finished with a crisp chocolate shell — every bite is a dreamy combo of creamy, crunchy, and chewy.
Equipment
- Steamer or Microwave
Ingredients
Mochi Dough:
- 50 g glutinous rice flour
- 15 g cornstarch
- 30 g sugar
- 90 g milk
- 20 g butter unsalted
Extra for Dusting:
- 20 g glutinous rice flour cooked
Whipped Cream Filling:
- 150 g whipping cream
- 12 g sugar adjust to your taste
Oreo Crumble:
- Oreo cookies with filling removed crushed finely
Chocolate Coating:
- 80 g dark chocolate
- 25 g coconut oil
- 15 g crushed peanuts
Instructions
Step 1: Cook the Glutinous Rice Flour for Dusting
- Place 20 grams of glutinous rice flour in a dry pan. Cook over low heat, stirring constantly, until it turns slightly yellow and smells a bit nutty. Let it cool completely and set aside. This will be used to keep your mochi from sticking without adding raw flour taste.
Step 2: Make the Oreo Crumble
- Take the filling out of a few Oreo cookies and crush the cookies into fine crumbs. You can use a food processor or place them in a bag and crush with a rolling pin.
Step 3: Whip the Cream
- In a cold bowl, whip the cream and sugar until medium peaks form. This means when you lift the whisk, the tip should hold a soft point that slightly folds over. Store in the fridge while you make the mochi dough.
Step 4: Make the Mochi Dough
- In a heatproof bowl, combine glutinous rice flour, cornstarch, sugar, and milk. Whisk well until there are no lumps. Strain the mixture to make it extra smooth. Cover with plastic wrap and poke a few holes on top.
- Steam the mixture for about 20 minutes over medium heat until it turns into a sticky dough and there is no liquid left at the bottom. Alternatively, microwave for 2 minutes, then continue in 30-second intervals until fully cooked. Be careful not to overcook it, especially in the microwave, as the dough can become too stiff.
Step 5: Knead and Rest the Mochi
- While the dough is still hot, add in butter. Use gloves or a spatula to knead and stretch the dough until the butter is absorbed and the texture becomes smooth, elastic, and no longer stick to your gloves.
- Roll the dough into a log and divide it into 6 equal pieces. Lightly dust each piece with the cooked flour and keep them covered with plastic wrap to prevent drying.
Step 6: Fill the Mochi
- Take one piece of dough and flatten it into a circle. It shouldn’t be too thin or it will tear. Place it into a small round bowl (ideally one that is slightly smaller than the wrapper) and press it down gently.
- Use a piping bag or spoon to add a layer of whipped cream, leaving about one inch border. Add a spoonful of Oreo crumbs, press down lightly, then top with more cream.
- Pinch the edges of the mochi together from one point, just like you’re sealing a bao. Keep going until it is completely sealed. Cut off any extra dough if needed and dust with a little more cooked flour. Place seam-side down onto a muffin liner.
- Repeat for the rest and place them in the fridge for about 30 minutes to firm up. You can also freeze them for a shorter chill time.
Step 7: Make the Chocolate Coating
- In a heatproof bowl, combine dark chocolate and coconut oil. Place the bowl over a pot of simmering water and stir until melted and smooth. Be careful not to let any water get into the bowl or the chocolate may seize.
- Once melted, stir in crushed peanuts.
Step 8: Coat the Mochi
- Place the chilled mochi on a wire rack over a tray. Pour the melted chocolate over each one to fully coat the top. If your room is warm, transfer them to the fridge for a few minutes to let the chocolate set.