

Crispy Pork Belly – Cantonese Roasted Siu Yuk (烧肉)
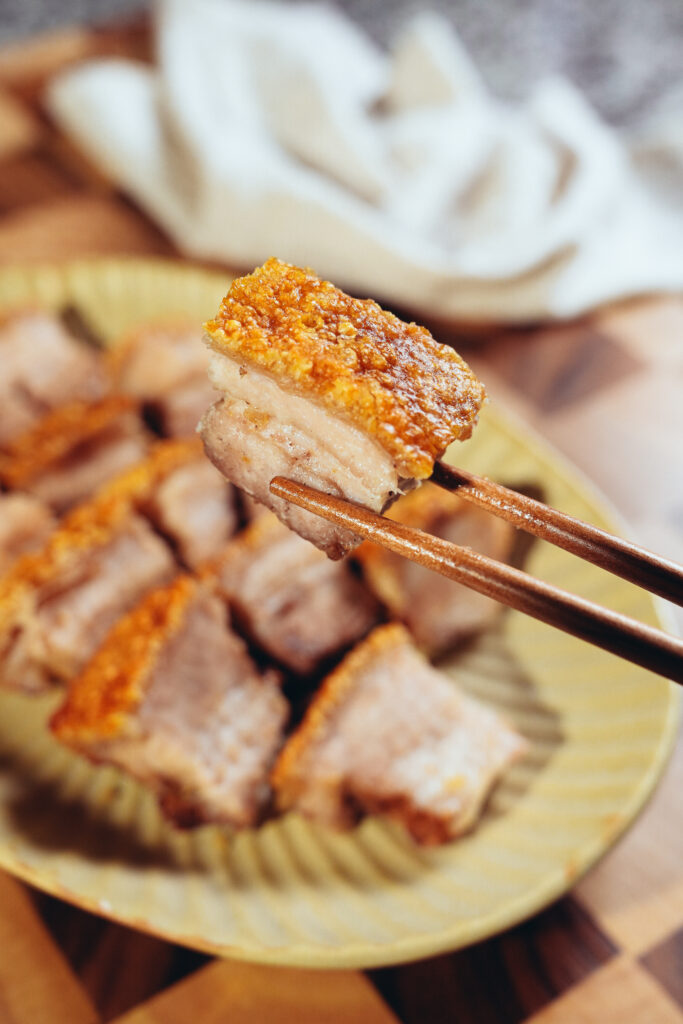
Cantonese roasted crispy pork belly, or siu yuk (烧肉), is one of those dishes that feels almost mythical: blistered, crackly skin on top, juicy meat underneath, and a perfect balance of fat and lean in every bite. It’s the kind of dish people always come back for at Cantonese BBQ shops.
But honestly, I now prefer the homemade version. Freshly made siu yuk is crunchier, juicier, cheaper — and surprisingly easy to make.
This version is air-fryer friendly, designed to be reliable even if it’s your first time. There’s also no long waiting time, which makes it perfect for a weekend craving or a special dinner at home.
Pro Tips for Perfect Crispy Pork Belly
- Uneven bubbles are normal: Leveling the pork belly before cooking helps the skin cook and bubble more evenly.
- Rest before cutting: Let the pork belly cool slightly so the juices can settle.
- Poke the skin thoroughly: Tiny holes allow steam to escape and help bubbles form evenly instead of cracking the skin.
- Why use salt? Salt draws moisture out of the skin during the first low-temperature cook, which is essential for crispiness.
- Vinegar is protection, not flavor: It slows down browning so you can use high heat without burning the skin.
- Double frying is key: Low heat removes moisture; high heat creates bubbles.
Ingredients
Pork Belly
- 2 lb pork belly, skin on
Tip: Choose one with an even layer of fat and lean meat for the best texture.
Marinade
- 1 tsp salt
- 1½ tsp sugar
- ½ tsp baking soda
- ¼ tsp MSG
- ½ tsp five-spice powder
- ½ tsp garlic powder
- ¼ tsp ground white pepper
- ½ tbsp Shaoxing wine
For the Skin
- 2 tsp vinegar
- ½ tsp baking soda
- Salt (enough to fully cover the skin)
Instructions
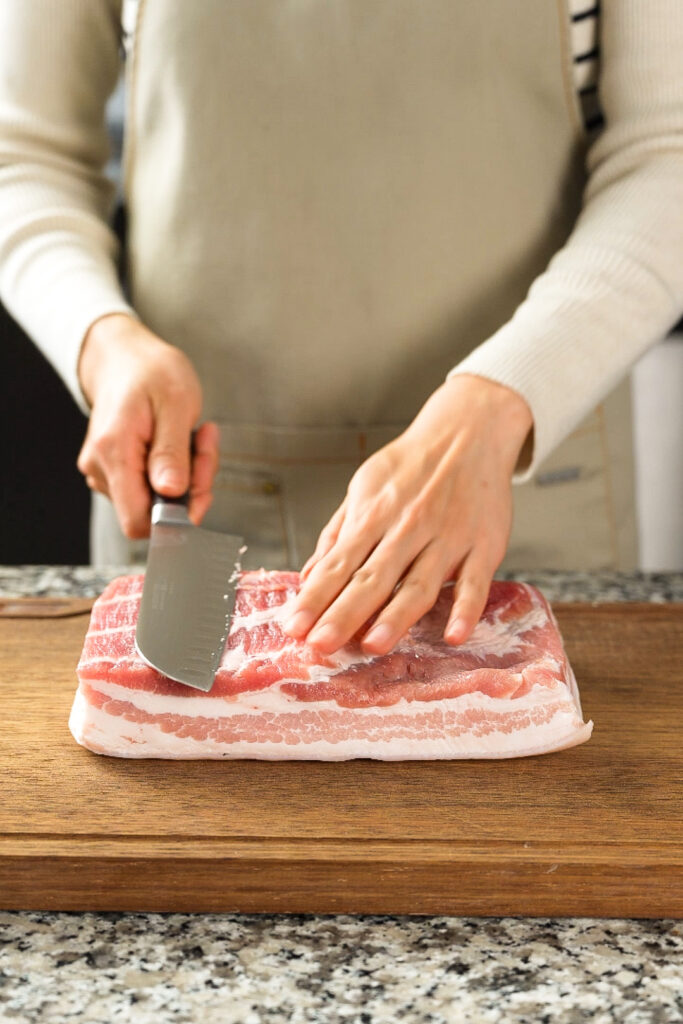
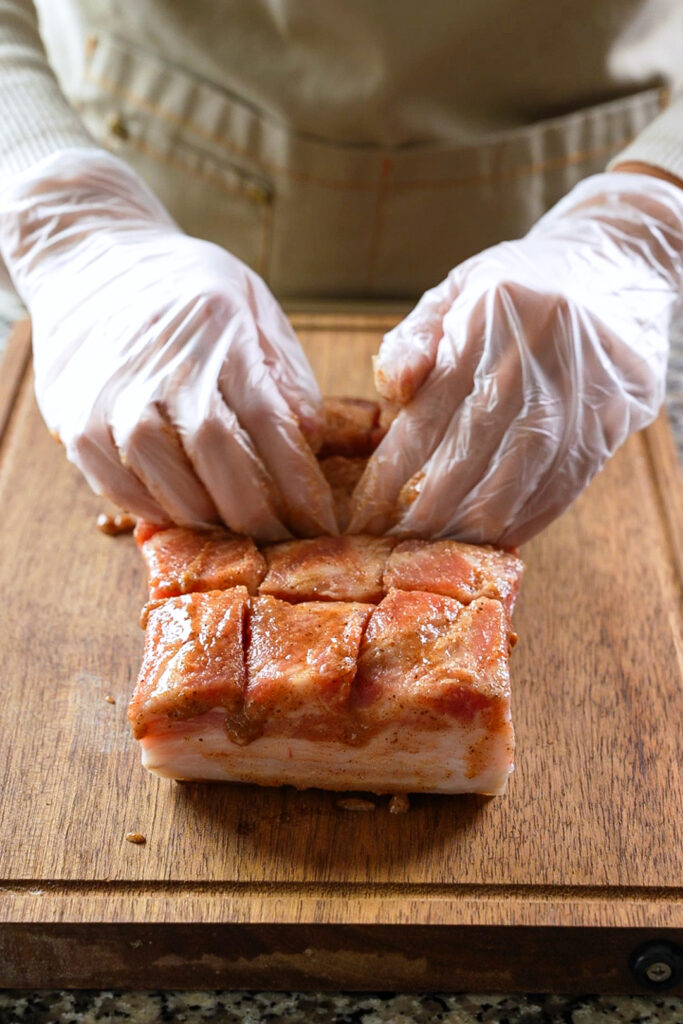
1. Level the Pork Belly: If needed, trim the meat side so the pork belly sits flat. This helps it cook evenly and prevents uneven bubbling later.
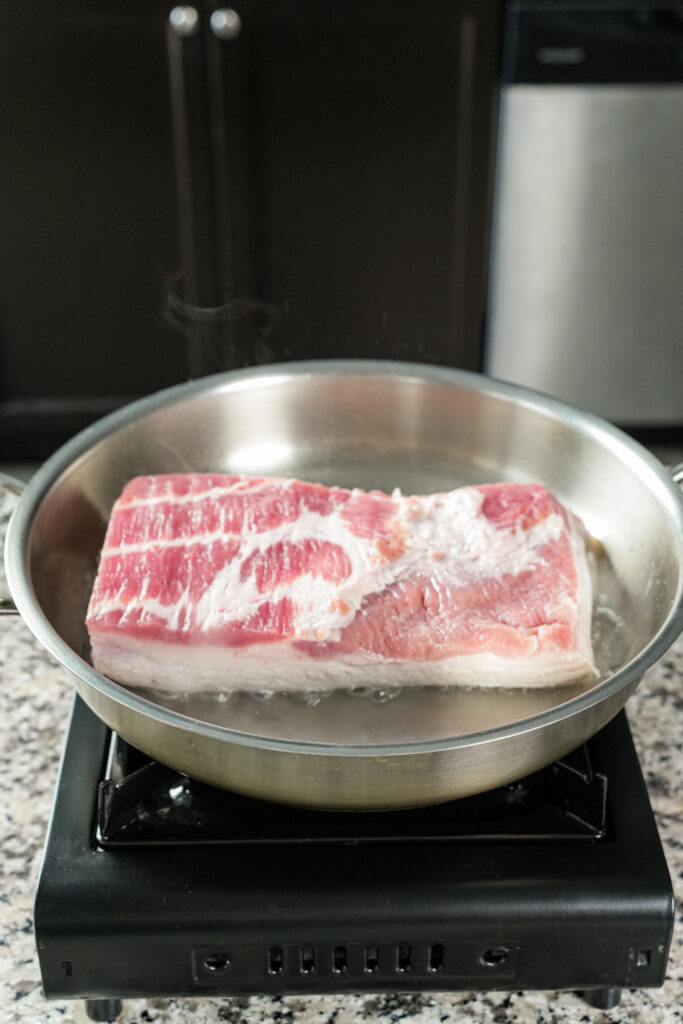
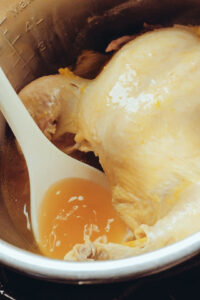
2. Blanch the Skin: In a flat pan, add water to about ½ inch deep and bring it to a boil. Place the pork belly skin side down into the pan and blanch for about 3 minutes.
Carefully remove the pork belly, place it skin side up, and let it air-dry. While it’s still warm, use a knife to gently scrape off any debris or impurities from the skin.
Why this matters: Blanching partially breaks down collagen in the skin, making it easier for the skin to puff and bubble later. It also softens the surface so it’s much easier to poke holes without tearing.
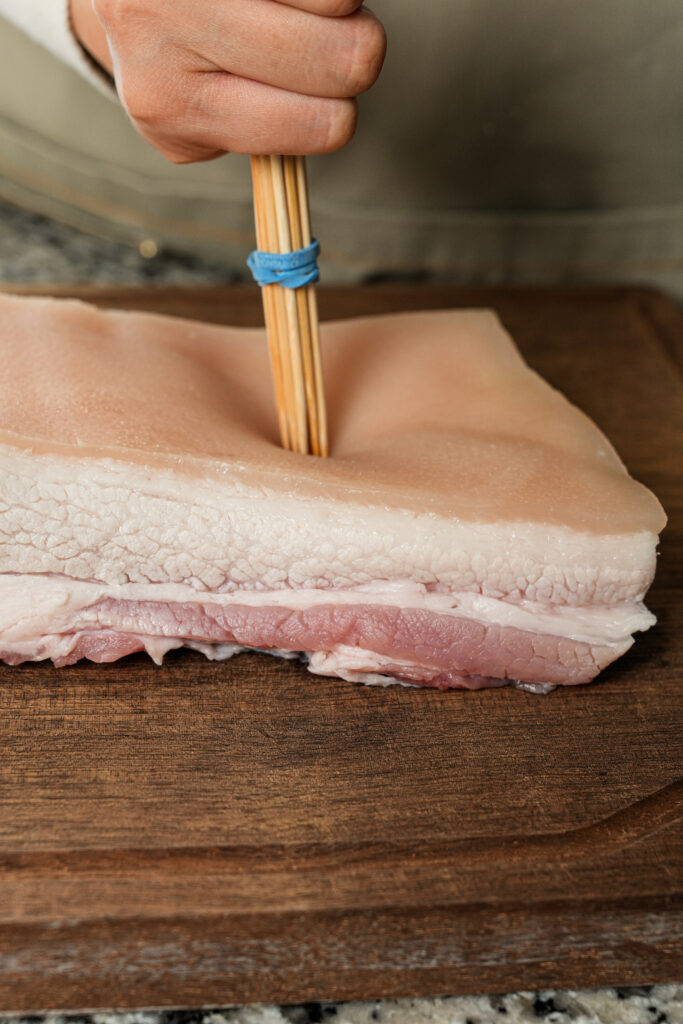
3. Poke the Skin: poke holes all over the skin using a sharp skewer, toothpick, or metal pick. Poke straight down, evenly across the entire surface, going through the skin but not pass the closest layer of fat. The holes should be as close together as possible.
Why poking matters: These tiny holes give steam a way to escape during high-heat cooking, allowing air pockets to form under the skin. This is what creates the signature bubbly, crackly texture instead of a hard or cracked surface.
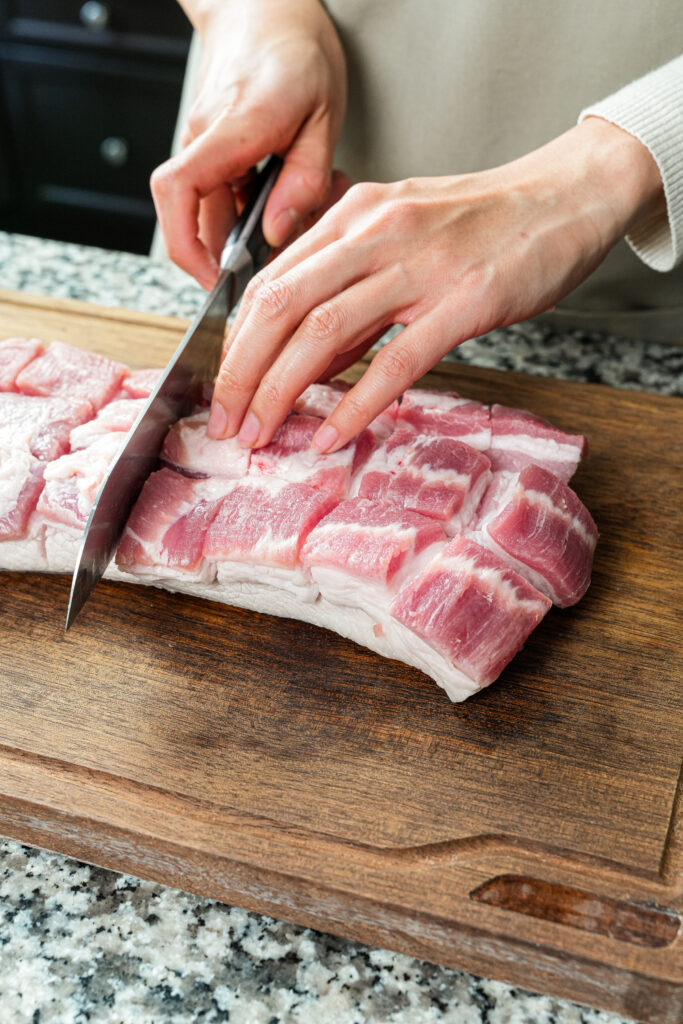
3. Score the Meat: Flip the pork belly over. Score the meat side, cutting through the lean meat close to the skin without cutting all the way through.
This allows the marinade to penetrate deeper and faster, seasoning the pork from the inside instead of just the surface.
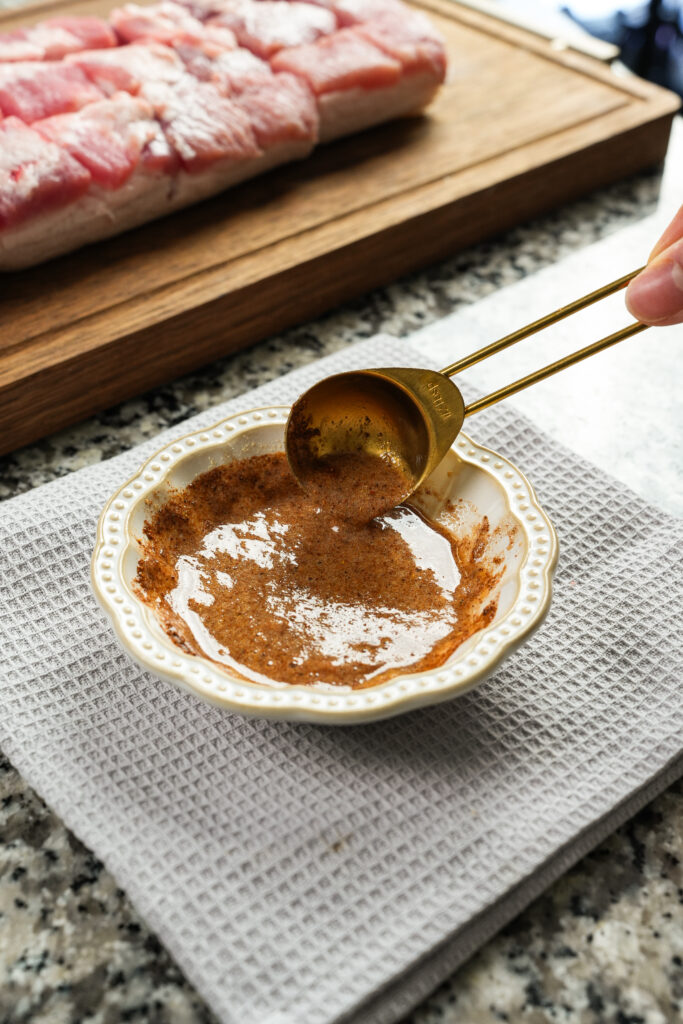
5. Marinate: Mix all the marinade ingredients together. Rub the mixture thoroughly into the meat, making sure it gets into all the cuts and crevices. Avoid getting marinade on the skin.
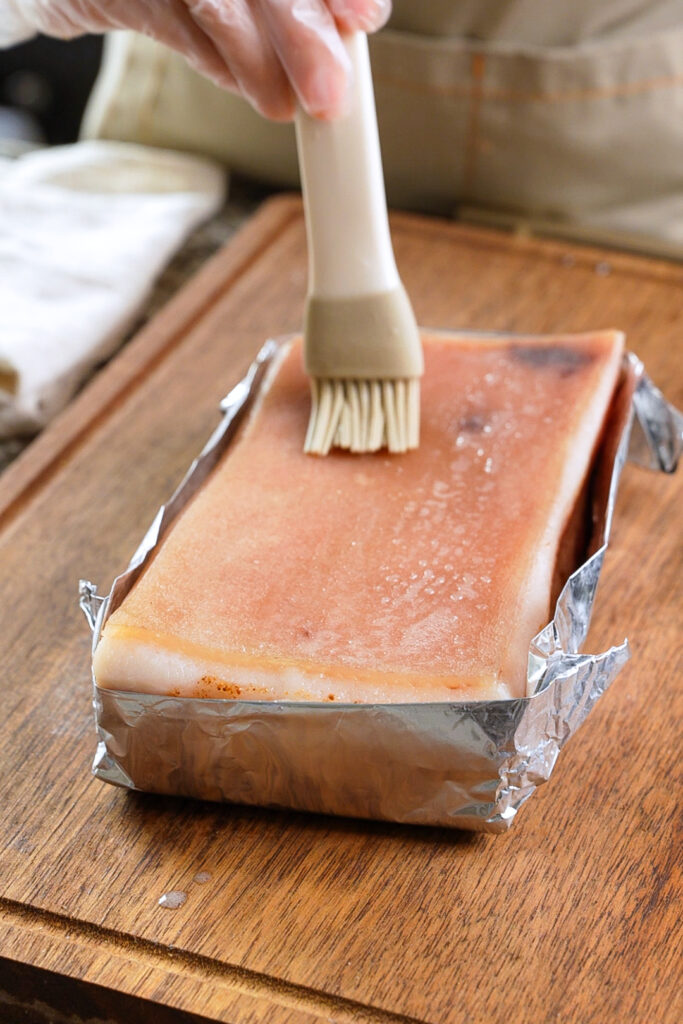
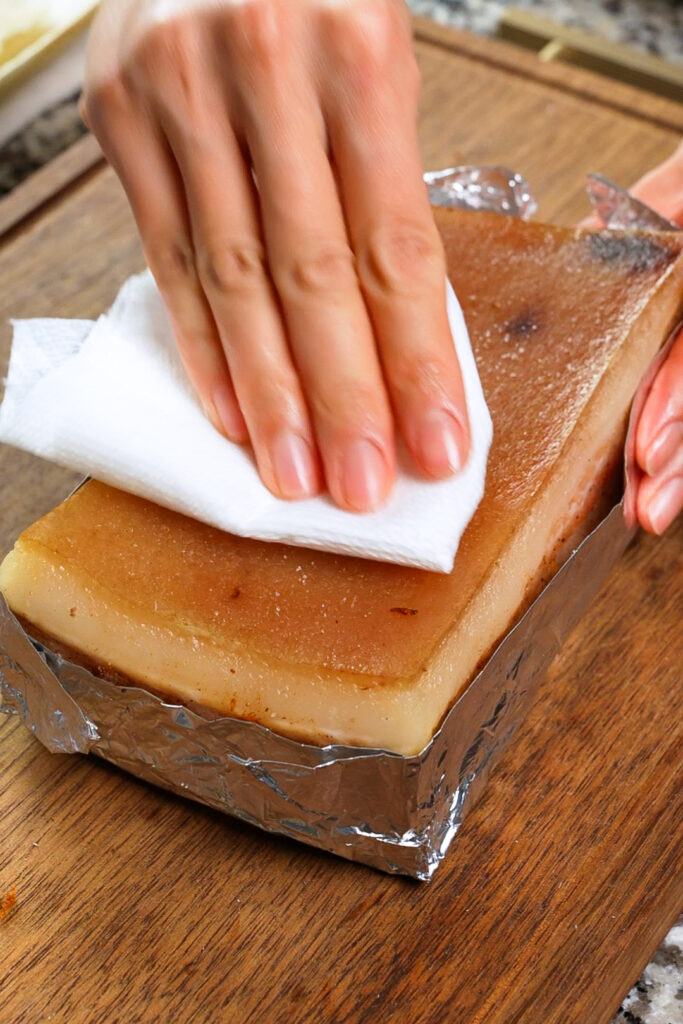
6. Create a Foil Box: Place the pork belly meat side down onto a sheet of aluminum foil. Fold up all four sides to form a snug foil box that covers the meat completely while leaving the skin fully exposed.
This protects the meat from drying out during the long cooking process.
7. Vinegar: Mix the vinegar and baking soda together and lightly brush it onto the skin.
Why vinegar helps: Vinegar slightly softens the skin and helps break up its structure, making it easier for air pockets to form. It also slows down browning, so the skin doesn’t burn too quickly during high-heat cooking — which is essential, because high heat is what creates those dramatic bubbles.
You can use vinegar on its own, but in my testing, a vinegar + baking soda combination works better than vinegar alone.
8. Salt: Sprinkle a generous amount of salt over the entire skin, fully covering it. Be careful not to let salt fall into the foil box.
**Tip: from my experience, table salt tends to form a solid crust that’s easier to remove later. Kosher salt doesn’t bind as well.
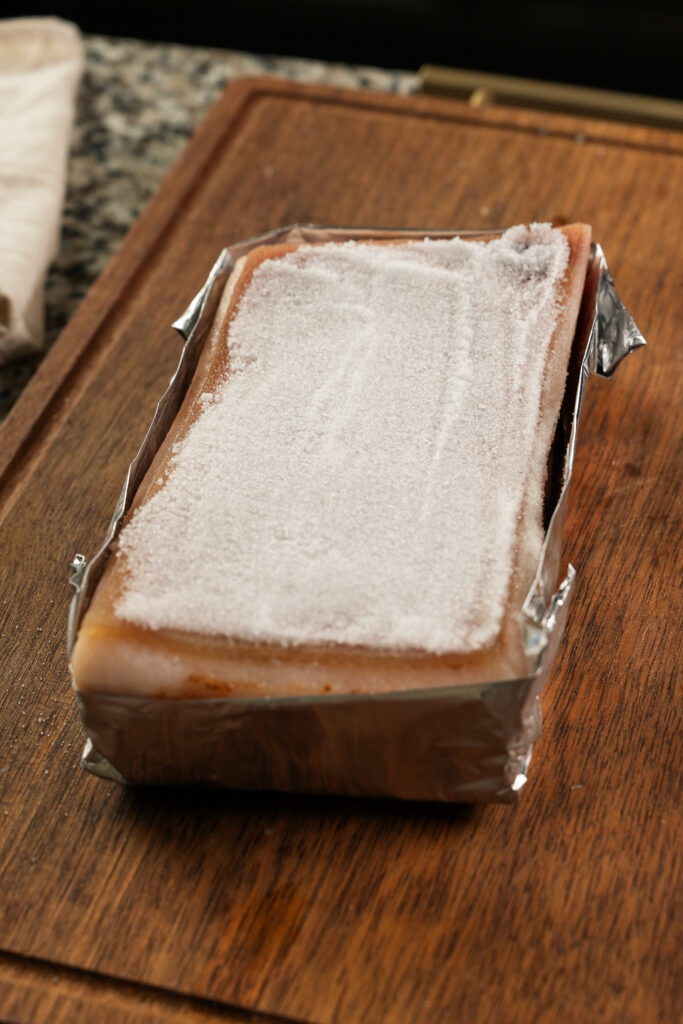
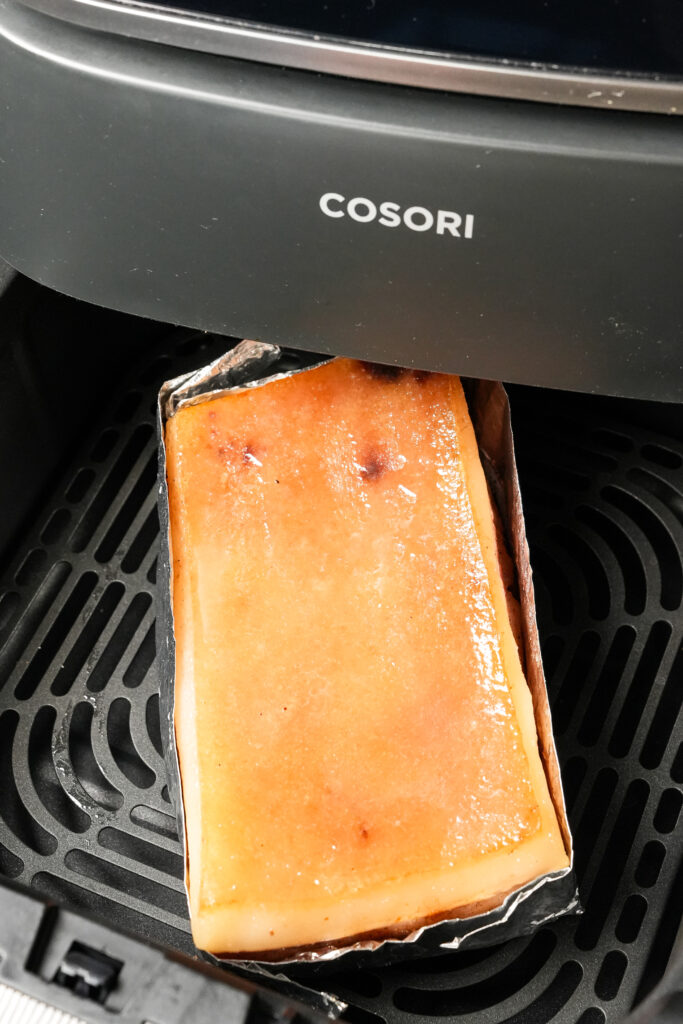
9. Dry the Skin (Low Heat): Air fry at 260°F (120°C) for 30–40 minutes, or until the skin is completely dry.
This is the first “fry.” The salt pulls as much moisture as possible out of the skin. Dry skin is critical — moisture is the enemy of crispiness.
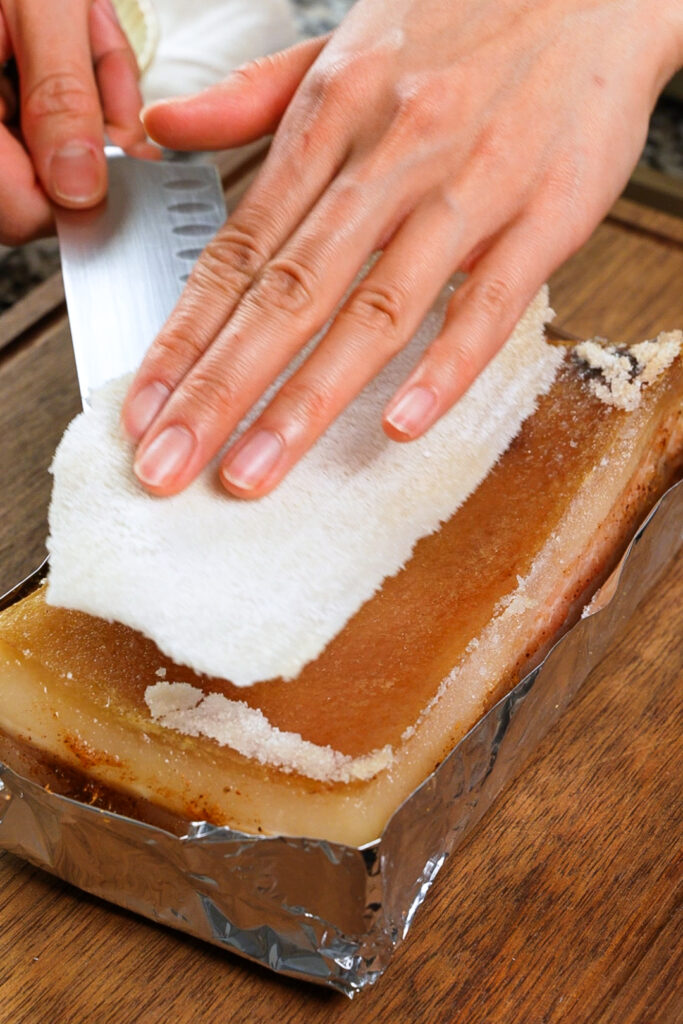
Once done, remove the salt crust. Carefully clean off any remaining salt and make sure no salt has fallen into the foil box
Alternative: You can skip this step and leave the pork belly uncovered in the fridge for 3–4 hours to dry the skin naturally, but the low-temperature air-fry is faster and more consistent.
10. Final Crisp (High Heat): Brush the skin with a little more vinegar mixture, then lightly spray or brush on a thin layer of oil.
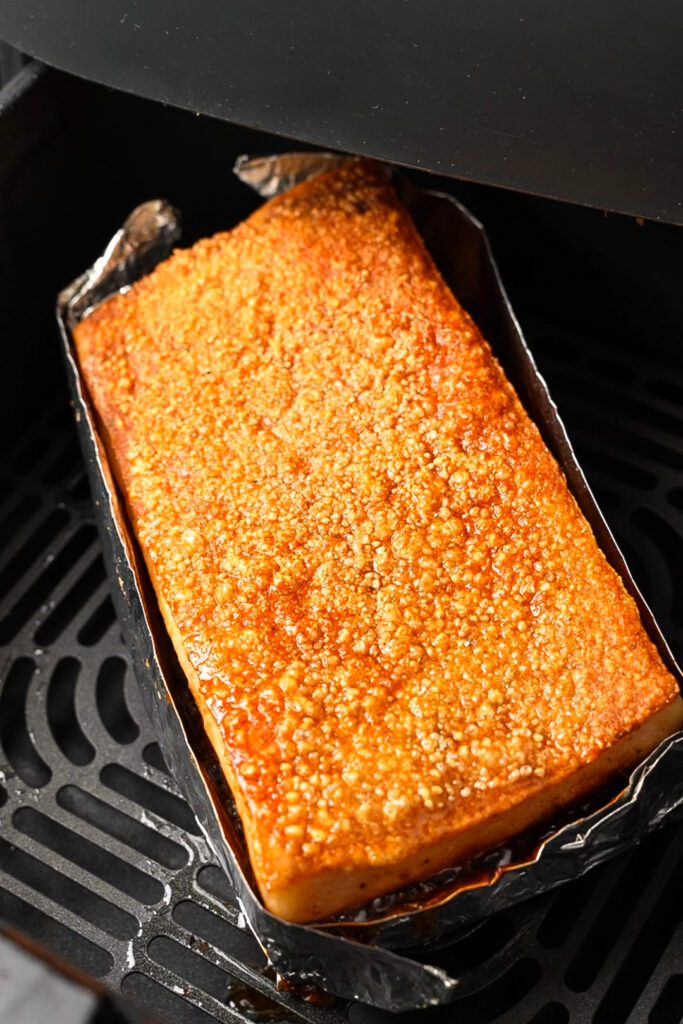
This is the second “fry.” Air fry at 400°F (200°C or higher) for about 30 minutes, until the skin bubbles up, turns golden, and becomes beautifully crispy.
If needed, rotate the pork belly for even blistering.
Why the skin bubbles: With all the moisture removed earlier, the intense heat causes tiny pockets of steam and air trapped under the skin to rapidly expand — just like popcorn. That expansion is what creates the signature blistered, crackly surface.
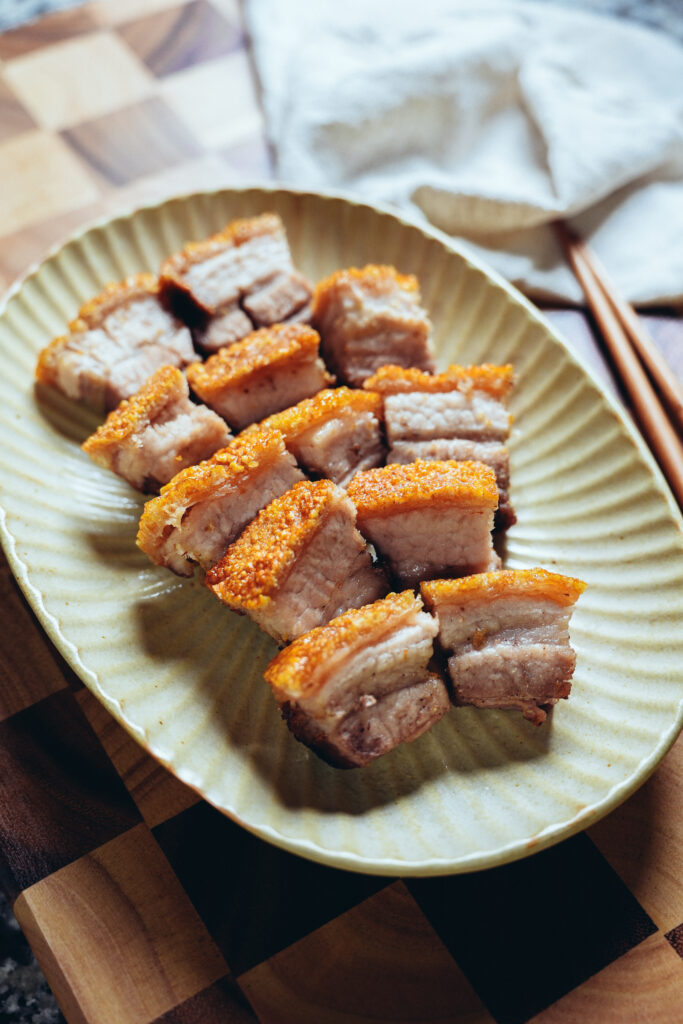
How to Serve
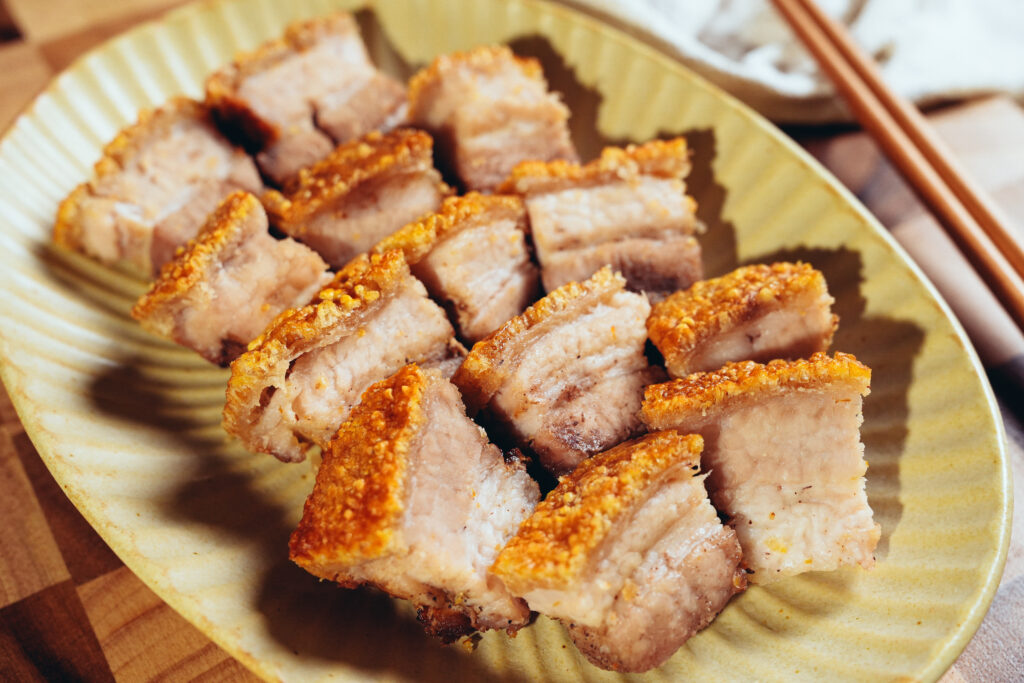
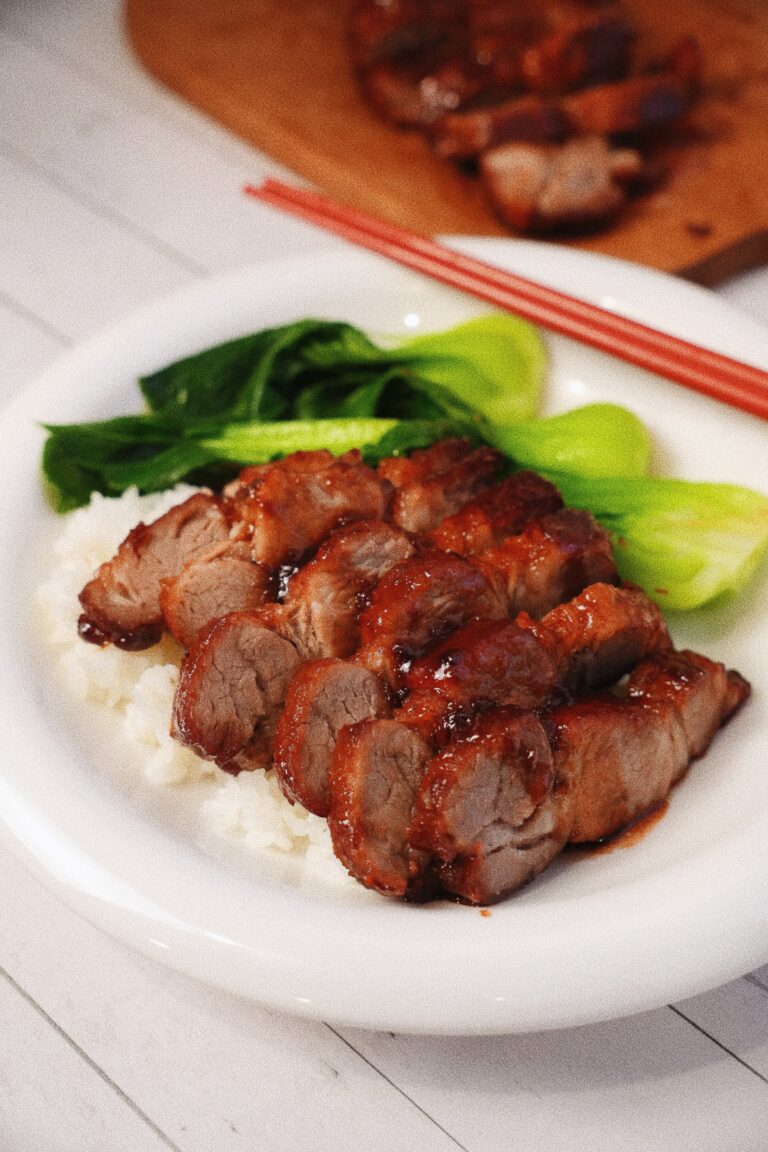
Cut the crispy pork belly into bite-sized cubes and serve with:
- Steamed white rice and blanched leafy vegetables
- A little sugar for dipping the crispy skin (classic Cantonese style)

Cantonese Roast Crispy Pork Belly (Siu Yuk)
Equipment
- 1 Air Fryer
Ingredients
- 2 lb pork belly, skin on Tip: Choose one with an even layer of fat and lean meat for the best texture.
Marinade
- 1 tsp salt
- 1½ tsp sugar
- ½ tsp baking soda
- ¼ tsp MSG
- ½ tsp five-spice powder
- ½ tsp garlic powder
- ¼ tsp ground white pepper
- ½ tbsp Shaoxing wine
For the Skin
- 2 tsp vinegar
- ½ tsp baking soda
- table salt enough to fully cover the skin
Instructions
- Level the Pork Belly: If needed, trim the meat side so the pork belly sits flat. This helps it cook evenly and prevents uneven bubbling later.
- Blanch & clean the Skin: In a flat pan, add water to about ½ inch deep and bring it to a boil. Place the pork belly skin side down into the pan and blanch for about 3 minutes. Carefully remove the pork belly, place it skin side up, and let it air-dry. While it’s still warm, use gently scrape off any debris or impurities from the skin.
- Poke the Skin: poke holes all over the skin using a sharp skewer, toothpick, or metal pick. Poke straight down, evenly across the entire surface, going through the skin but not pass the closest layer of fat. The holes should be as close together as possible.
- Score the Meat: Flip the pork belly over. Score the meat side, cutting through the lean meat close to the skin without cutting all the way through.
- Marinate: Mix all the marinade ingredients together. Rub the mixture thoroughly into the meat, making sure it gets into all the cuts and crevices. Avoid getting marinade on the skin.
- Create a Foil Box: Place the pork belly meat side down onto a sheet of aluminum foil. Fold up all four sides to form a snug foil box that covers the meat completely while leaving the skin fully exposed.
- Vinegar: Mix the vinegar and baking soda together and lightly brush it onto the skin. (see note 1)
- Salt: Sprinkle a generous amount of salt over the entire skin, fully covering it. Be careful not to let salt fall into the foil box. (see note 2)
- Dry the Skin (Low Heat): Air fry at 260°F (120°C) for 30–40 minutes, or until the skin is completely dry. Once done, remove the salt crust. Carefully clean off any remaining salt and make sure no salt has fallen into the foil box. (see note 3)
- Final Crisp (High Heat): Brush the skin with a little more vinegar mixture, then lightly spray or brush on a thin layer of oil.
- This is the second “fry.” Air fry at 400°F (200°C or higher) for about 30 minutes, until the skin bubbles up, turns golden, and becomes beautifully crispy.


What kind of vinegar do you use?
Hi Michelle, sorry for the late reply! I use regular clear, unseasoned rice vinegar. Most Chinese brands will work. The higher the acidity, the better.